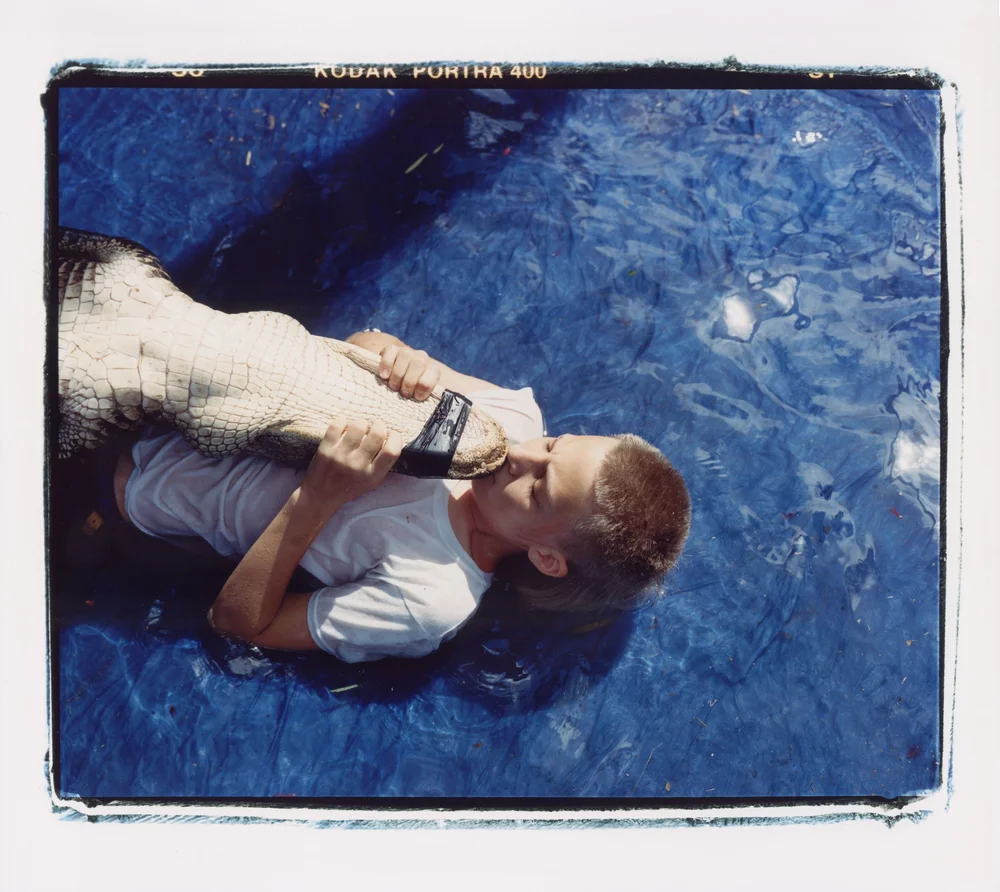
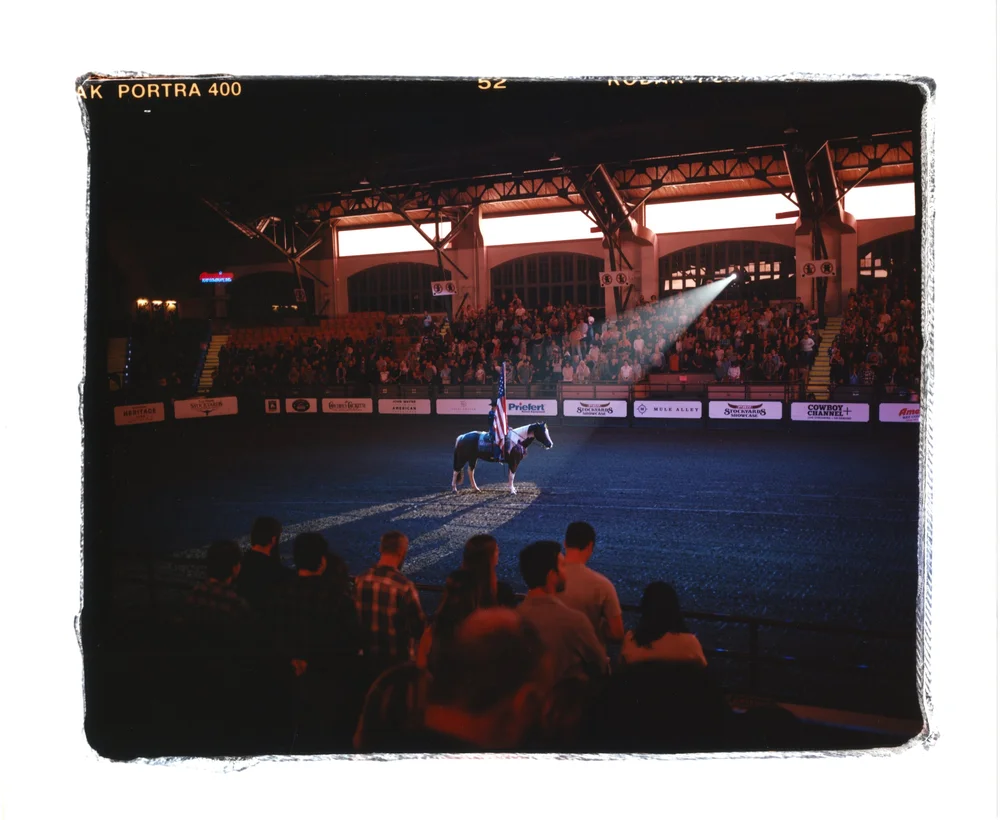
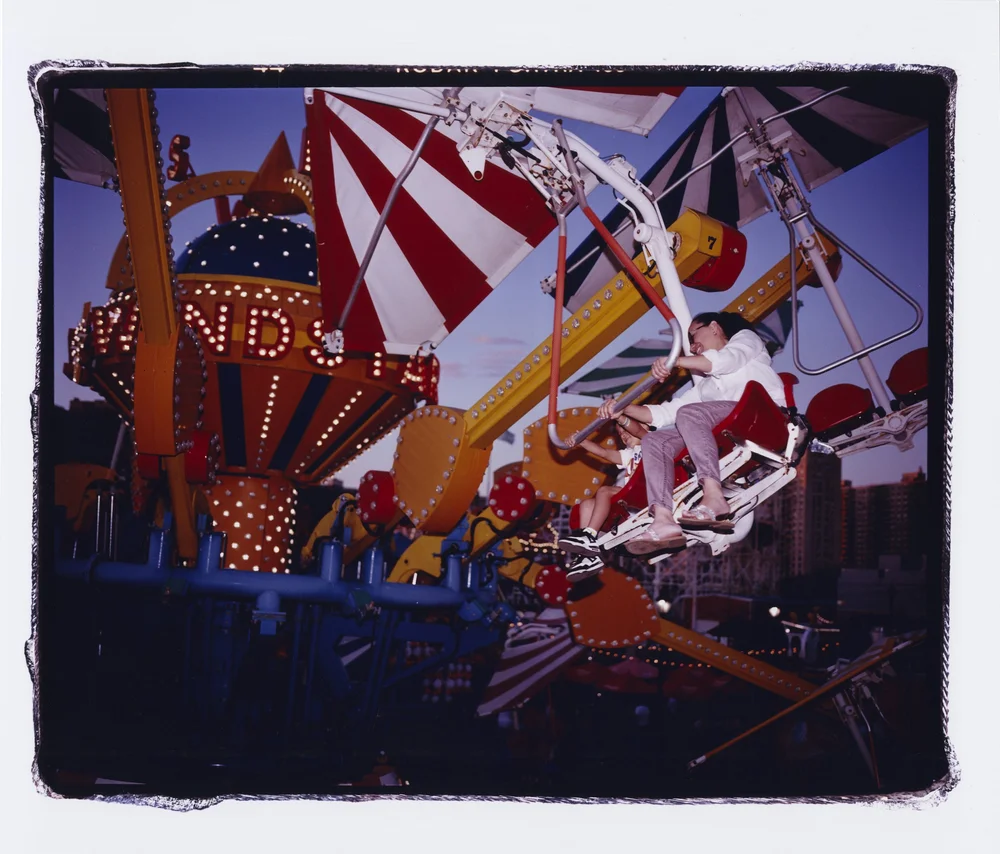
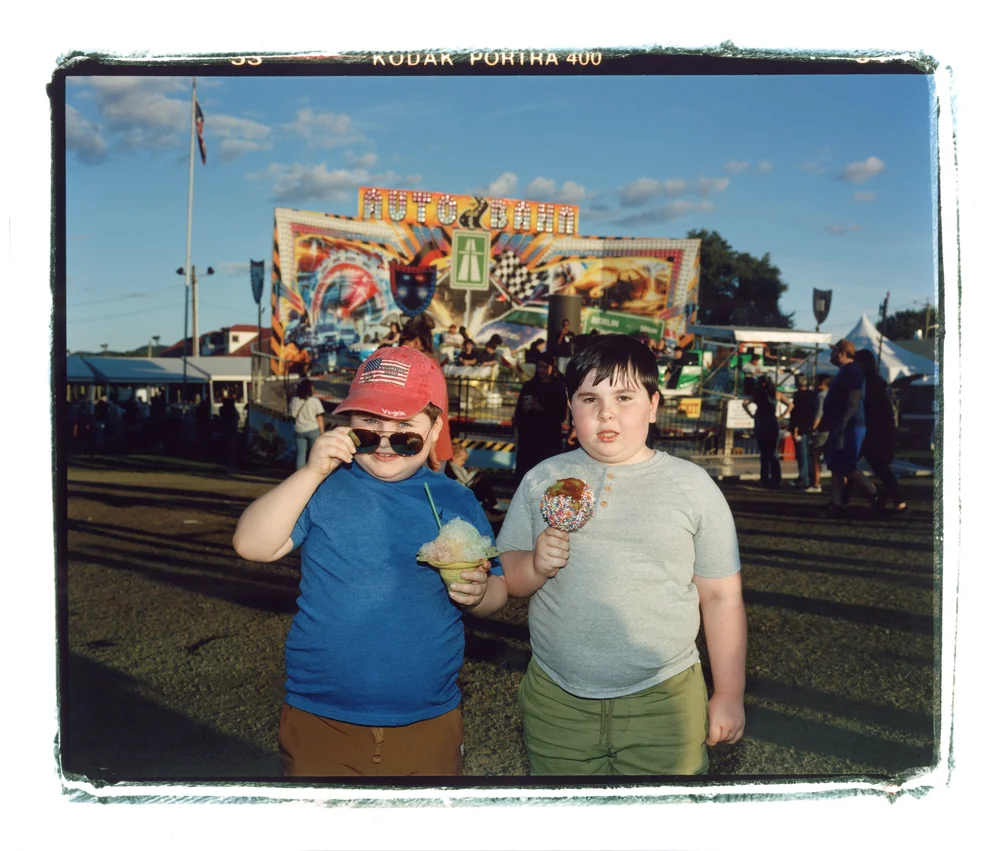
The Color
Darkroom
The Art of Painting With Light
BurningI'm using a piece of cardboard with a hole in the middle of it. This allows me to direct where the light is hitting the paper, giving more precise exposure control. This is called burning. If I "burn" a part of the image, I'm making it darker, by allowing more light to hit it. I need to continuously move the cardboard so that I don't cause a harsh line. By moving it continuously, I can create a soft, feathered difference in the values of light and exposure.
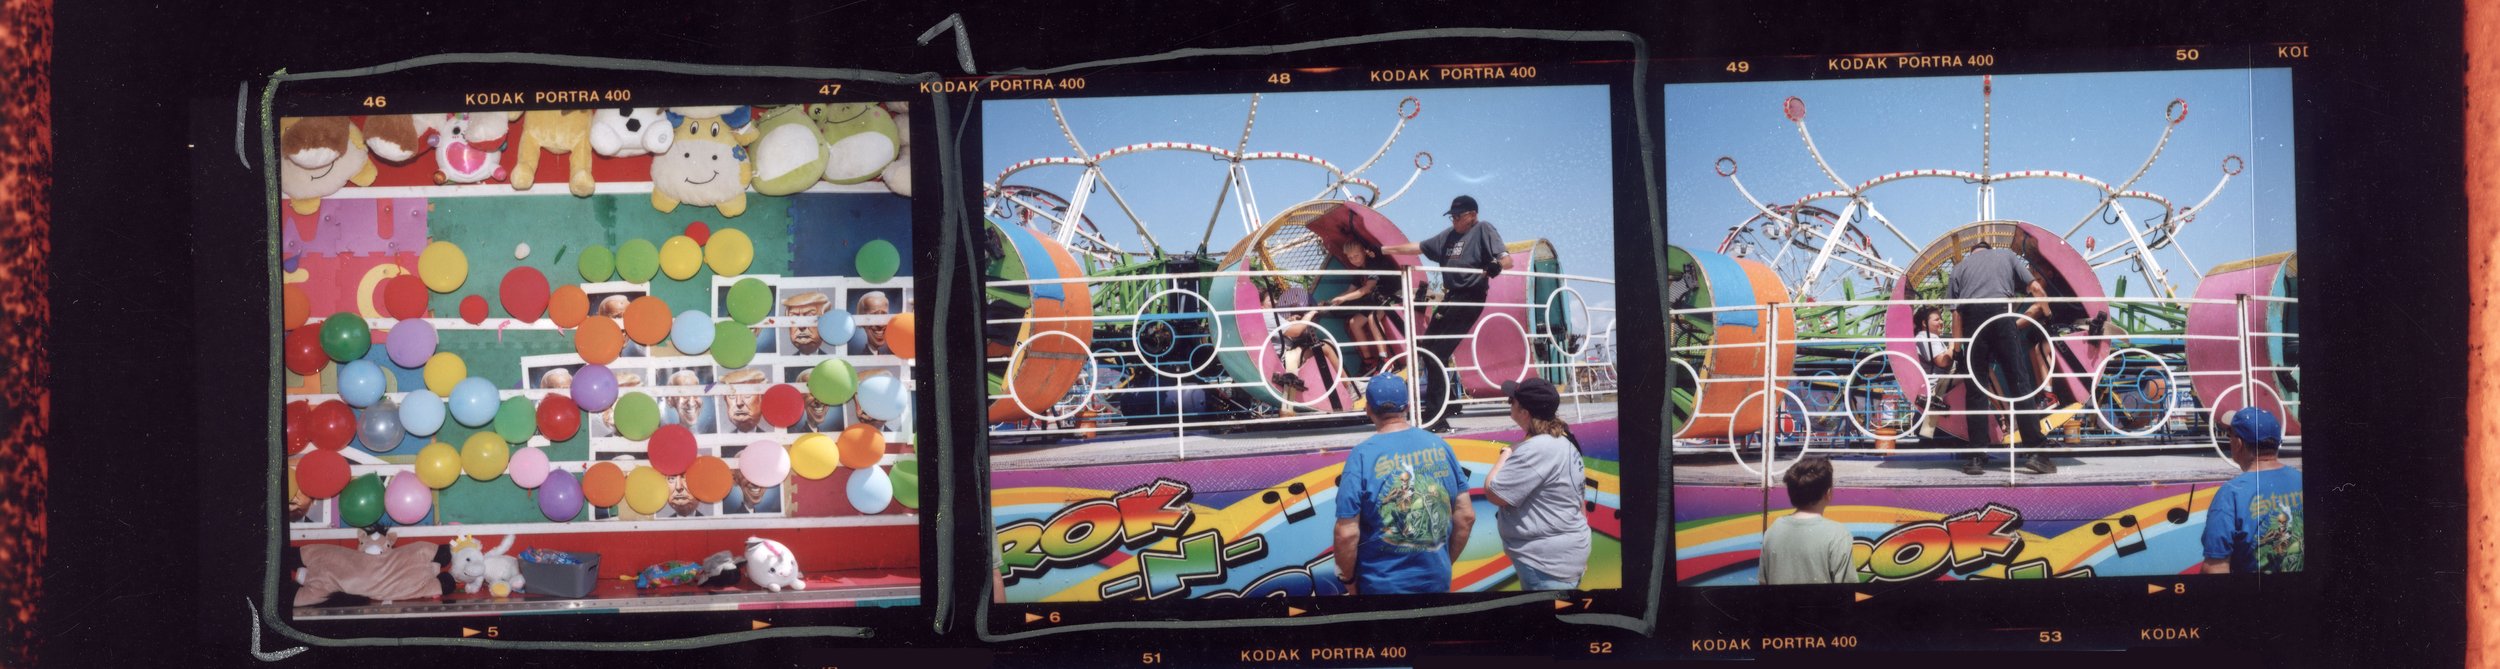


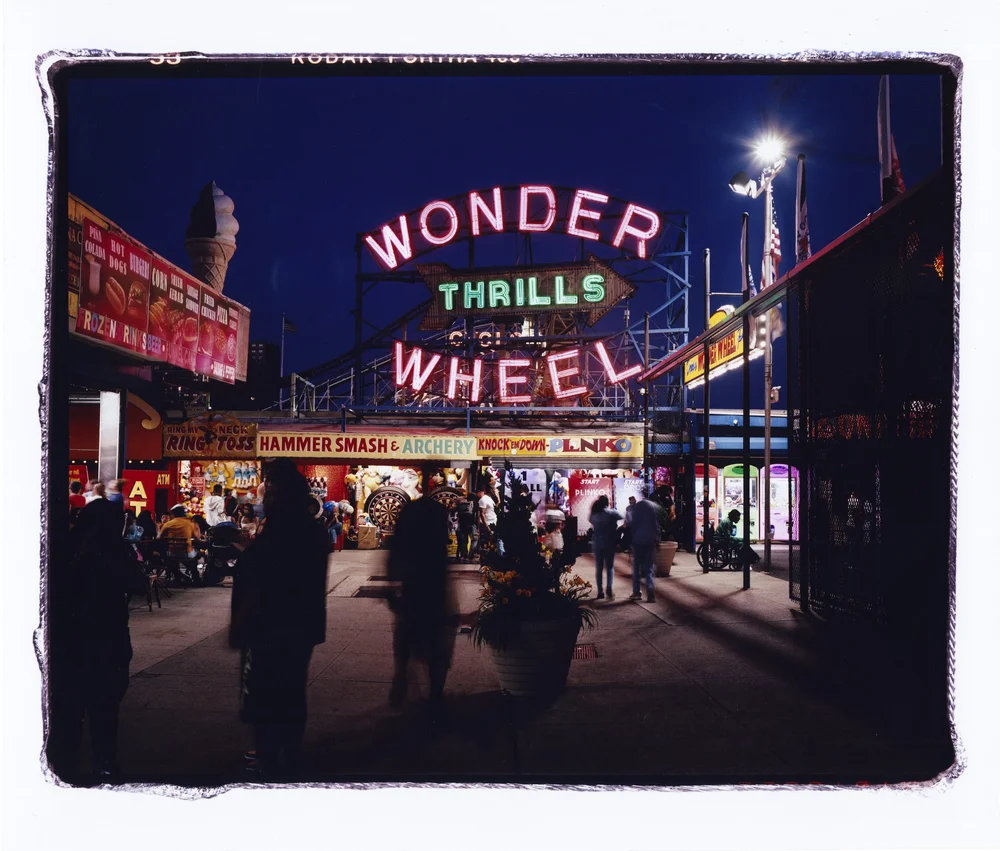
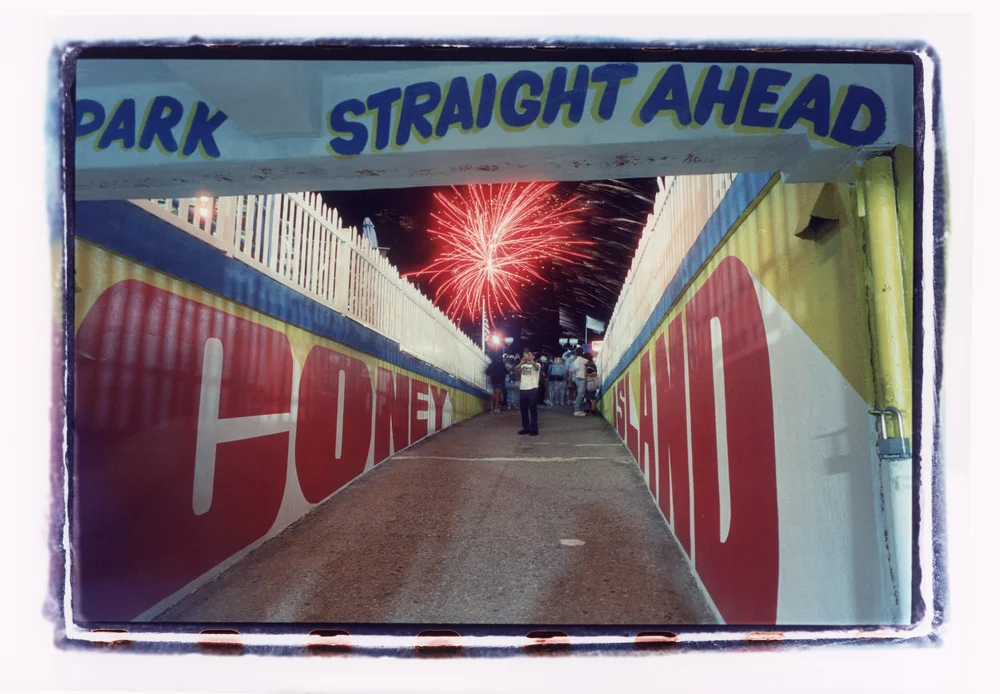
The 6×17 format is the uncommon and unique medium format panorama. This is a 12×36in color darkroom print, hand-made from a 6×17 negative. A lot of custom tools and inventive solutions had to be made to make printing this obscure format possible.
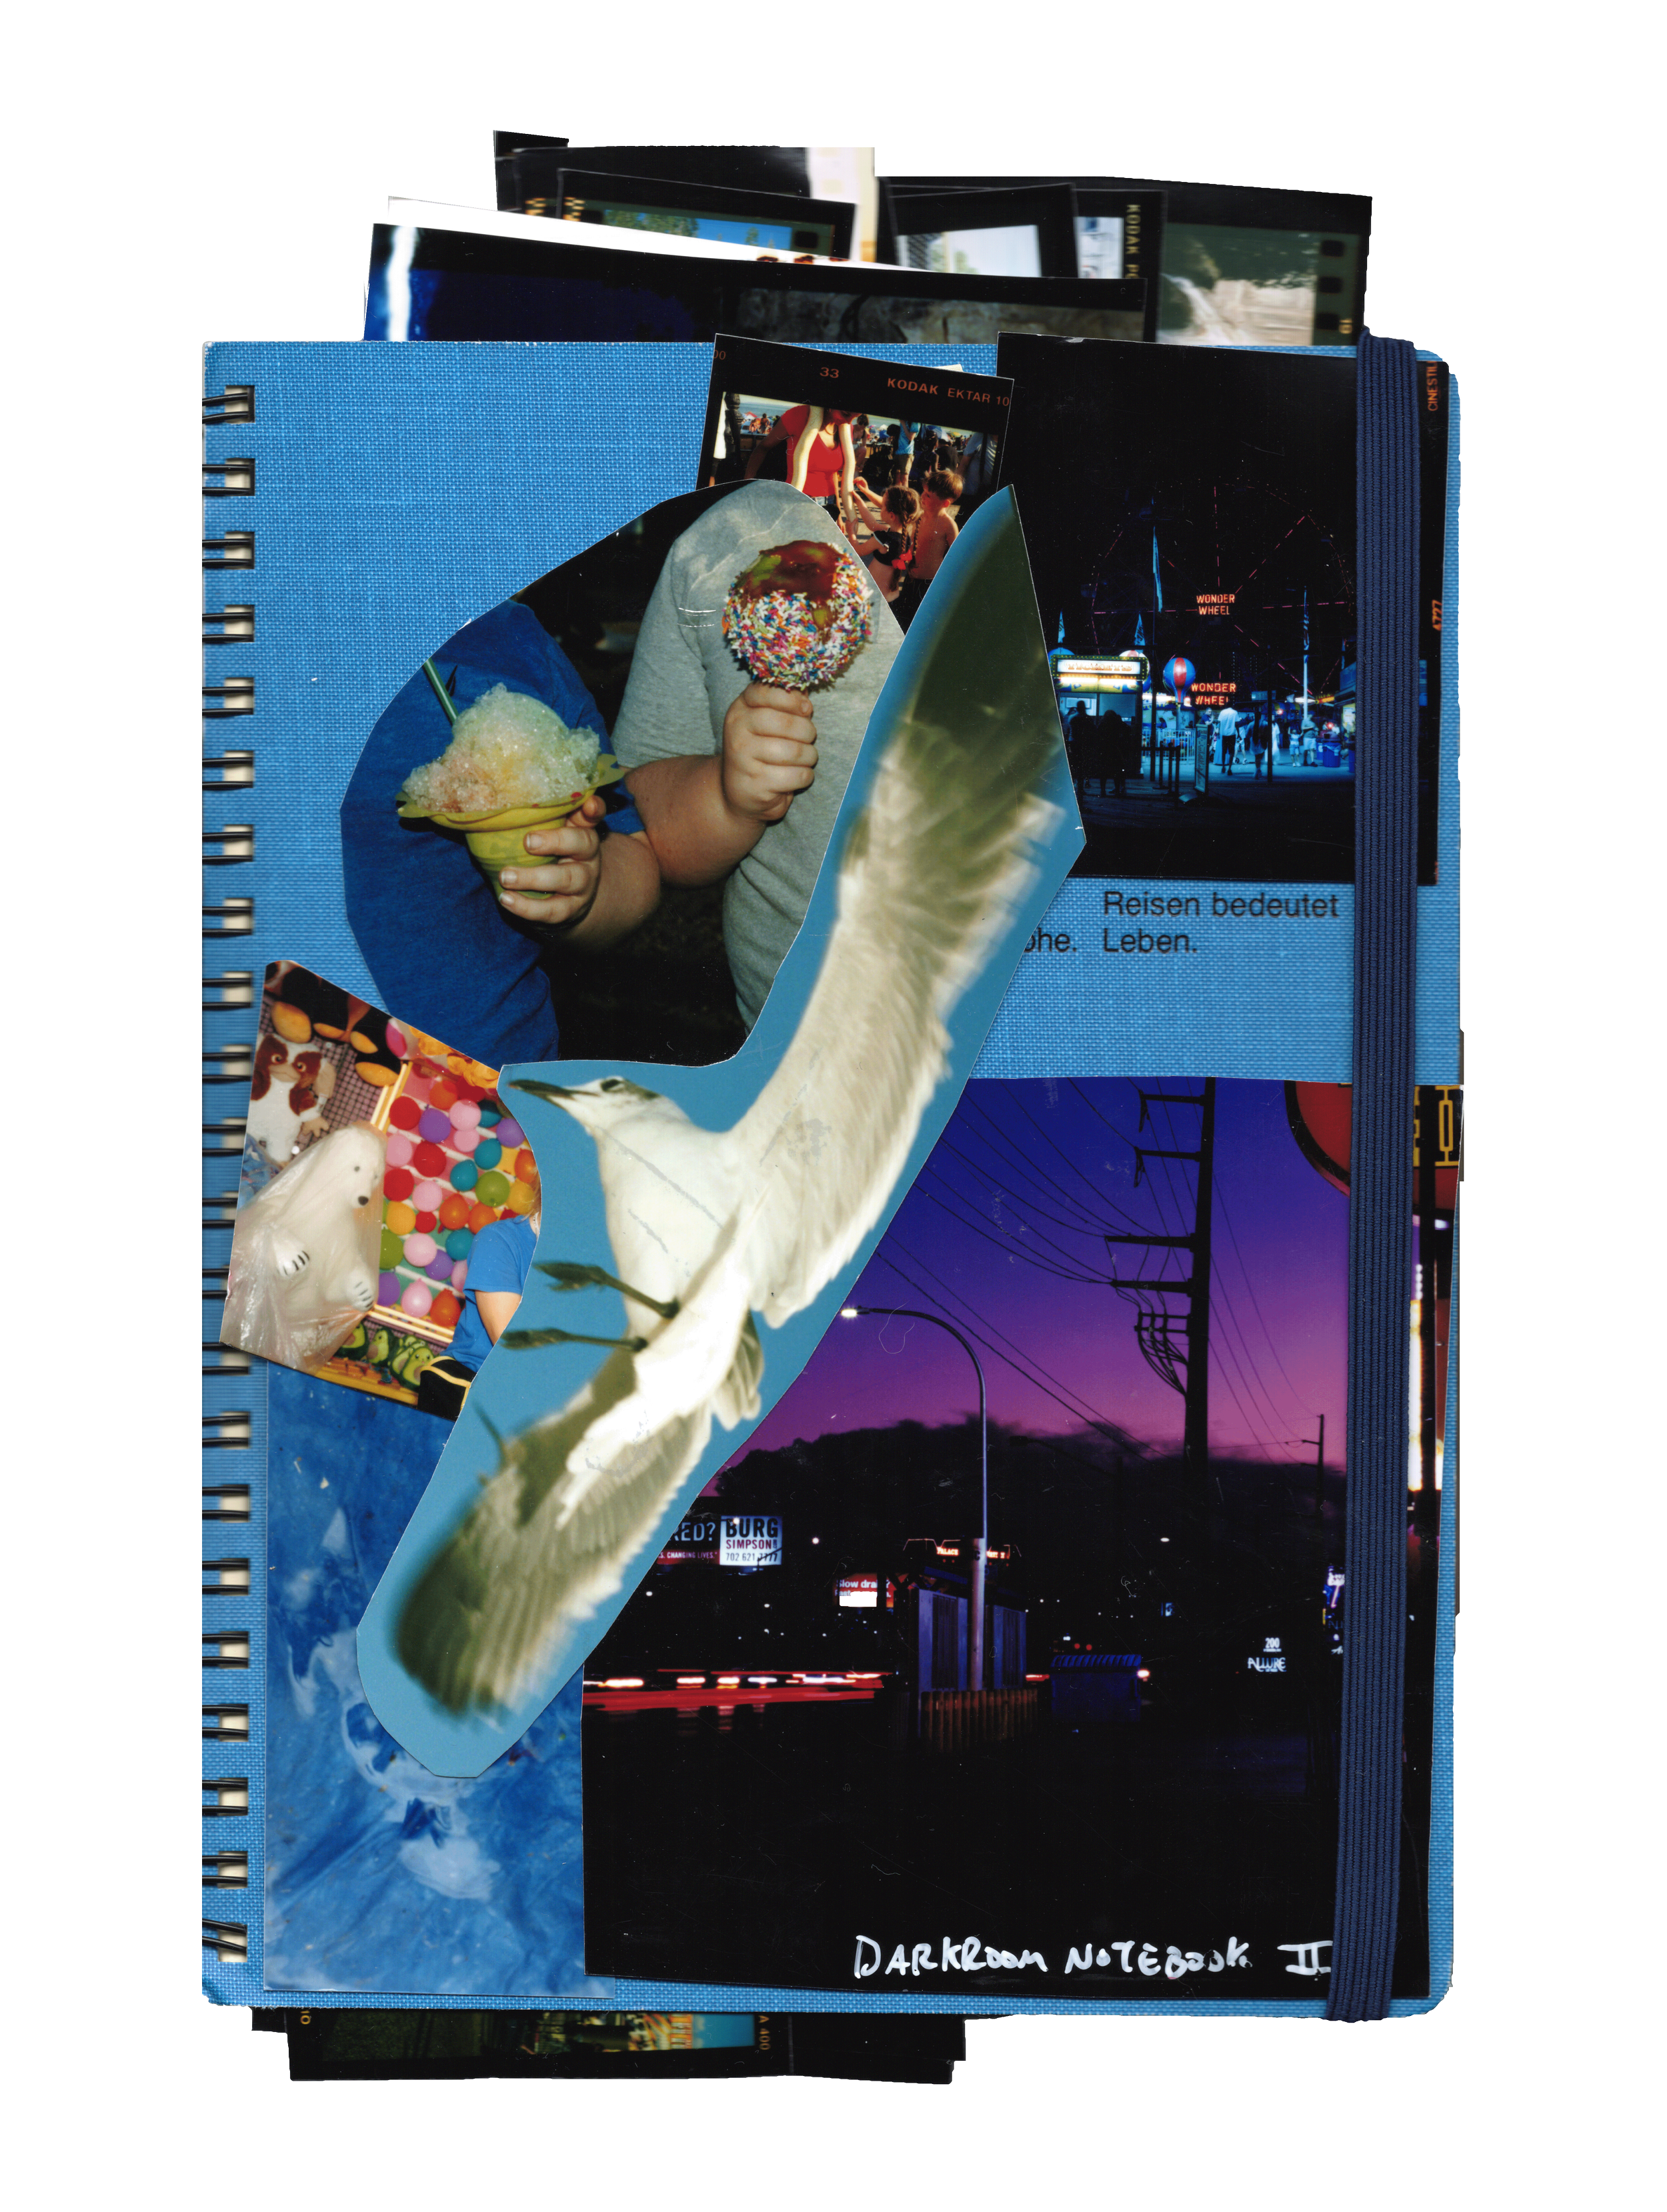
Darkroom Prints


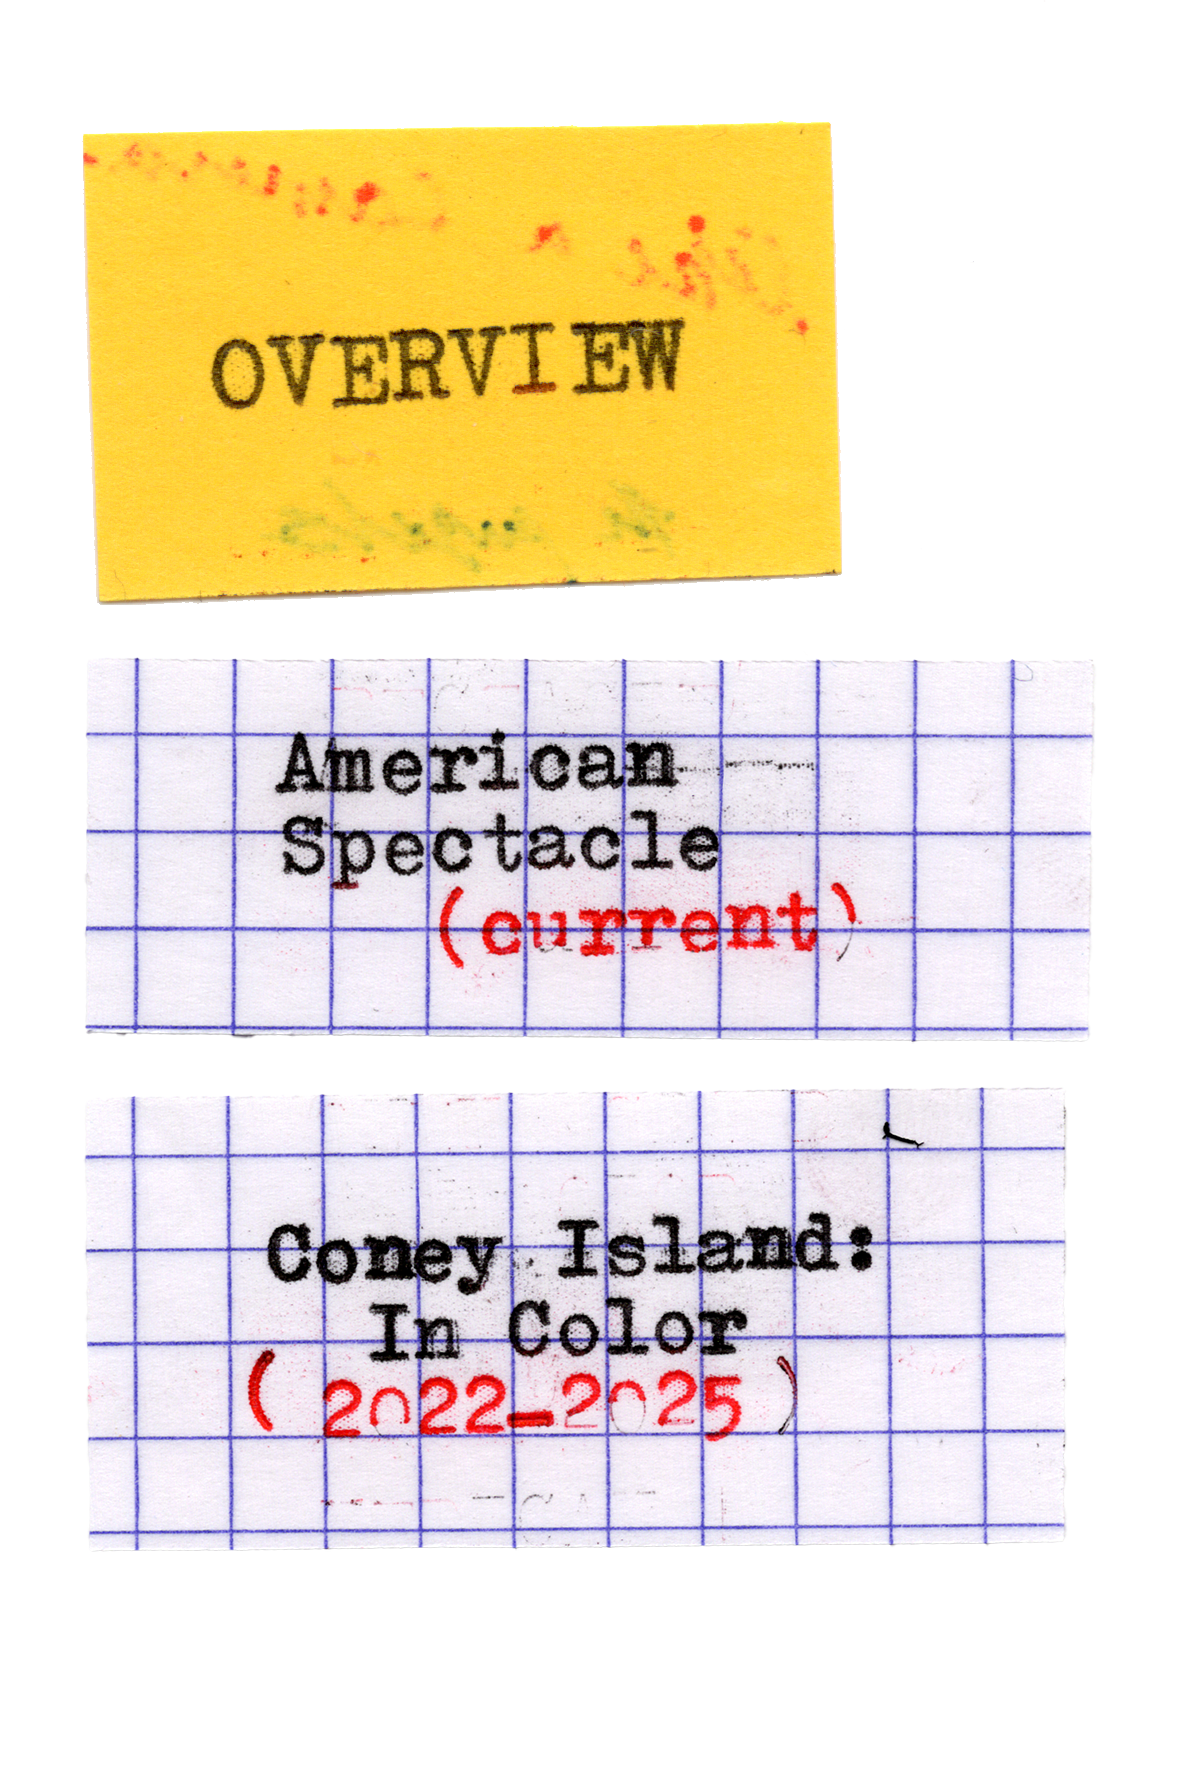
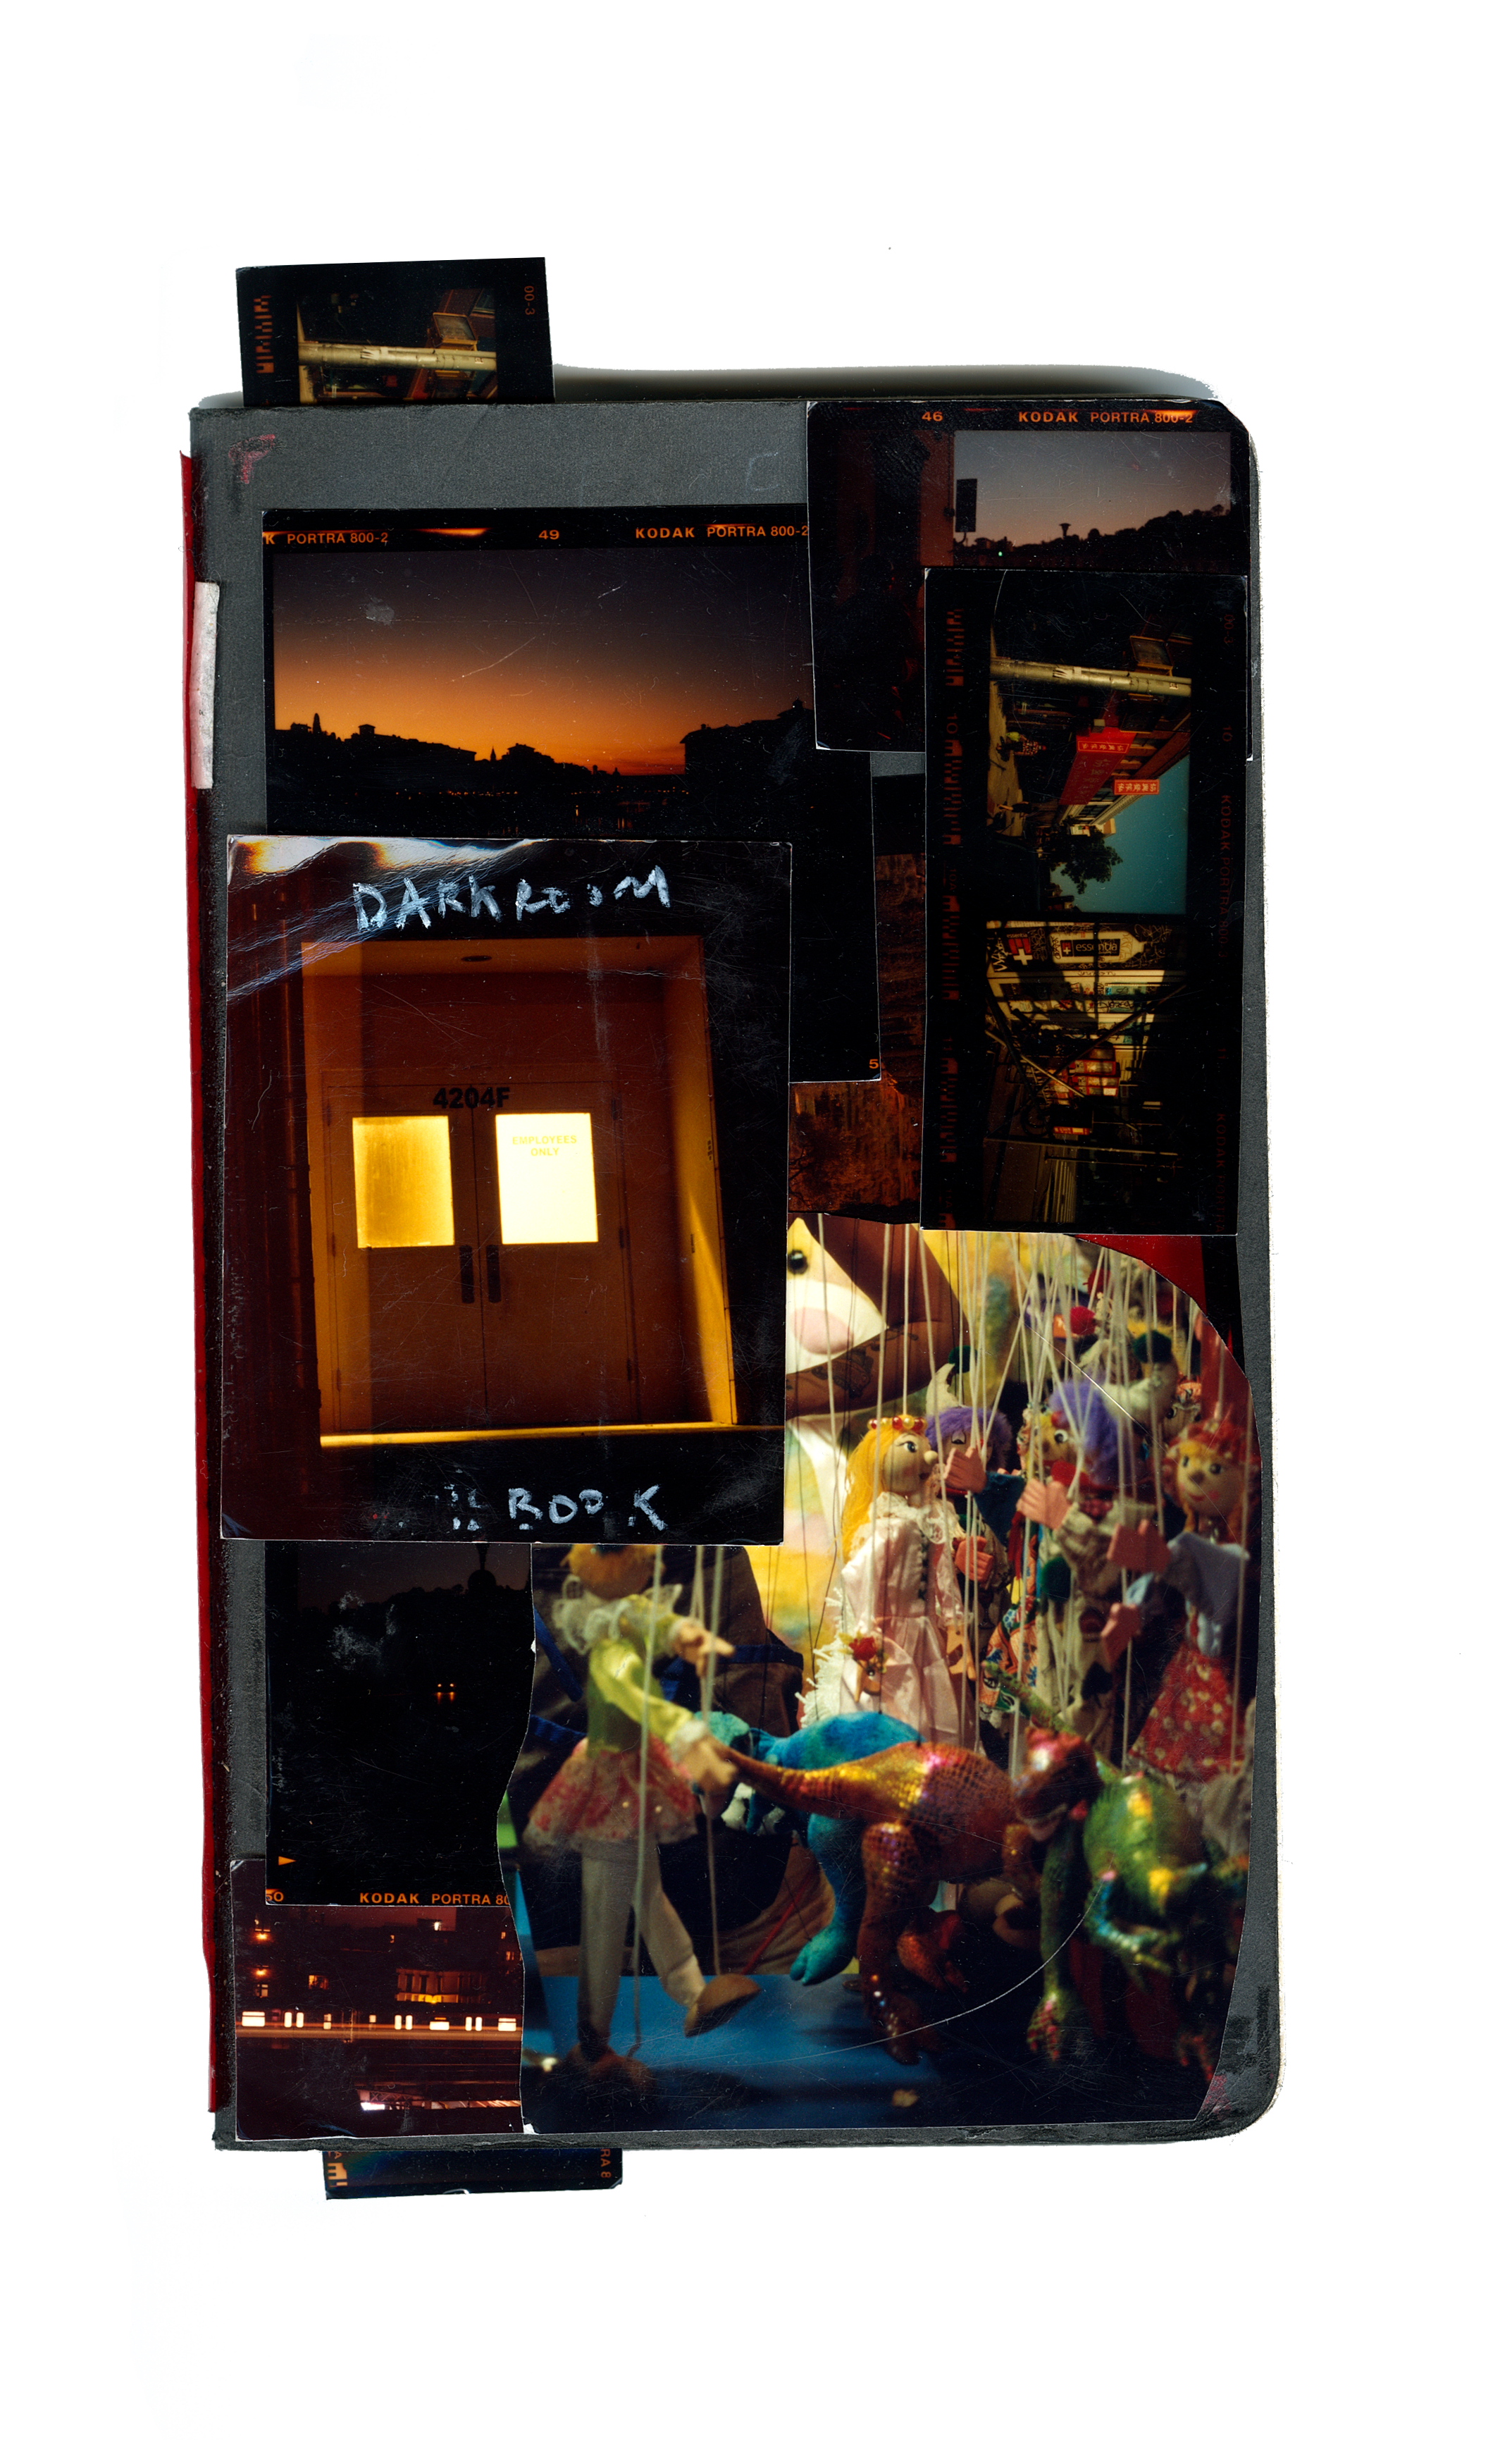
Notebook V1: 2022–2024
 Click to open →
Notebook V2: 2025–current

 Click to open →
All color printing is done in total darkness. Red light is for illustrative purposes.
Color printing has to happen in total darkness. Unlike black and white printing where a printer can have a red light so that they can see, a color printer has to become a master of printing without any visual aid, and rely only on their memory and touch.
How color darkroom printing works
Making a darkroom print is similar to taking a photograph. You're essentially re-photographing the image onto a piece of light sensitive photo paper. You use a lens, select an aperture for the image to be projected through, focus the image on the paper and select an exposure time to determine how long that image will be projected on the paper. With color printing, you're also adding a whole other world of balancing the color with the exposure.
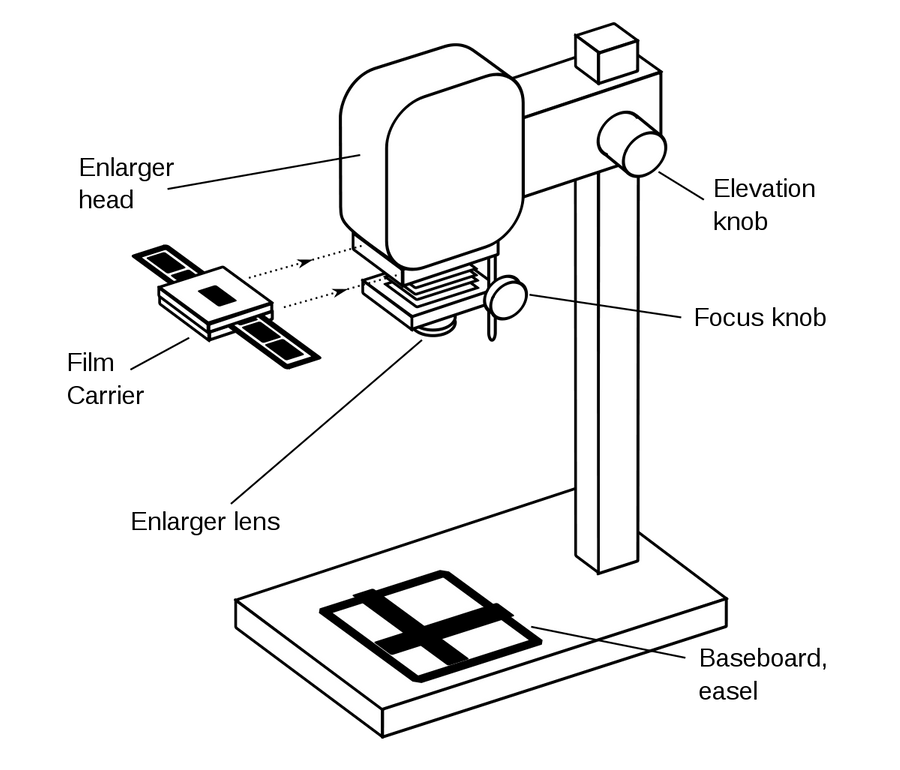
Select a lens size
Different lens sizes work for different negative sizes. For example, for a 6×7 negative, you use a 105mm lens.
Make a contact sheet
A contact sheet shows all of the photos on your roll so that you can pick which photo you'd like to print.
Position your negative in a negative carrier
You have to be very patient when putting your negative in its carrier. The way that you position it determines how it will print onto the paper below, down to the millimeter.
Focus the image on the paper
Before making an actual print, you need to focus the image onto the paper. Use a grain focuser to make sure the individual grains of the film are sharp.
Make a test strip
To know what settings you'll use to expose your print well, you first need to make a test print of the whole image with different exposure times. You'll create strips on the print with different times to see how the print changes. You'll also use a starting color pack.
Color balancing
The biggest part of color printing is well, the color. Use color viewers to help you get an idea of what different adjustments will do to your print.
As you adjust the exposure, that also affects the color. So you have to constantly be balancing the two of them.
Examine colors and test prints
As you make strips and tests with different color settings and exposure times, you compare and study them to see what final tweaks you need to make to get the exact color balance you want.
Dodge and burn
Dodging: Blocking the light from certain areas of the print to make that area lighter.
Burning: Concentrating the light on certain areas of the print to make that area darker.
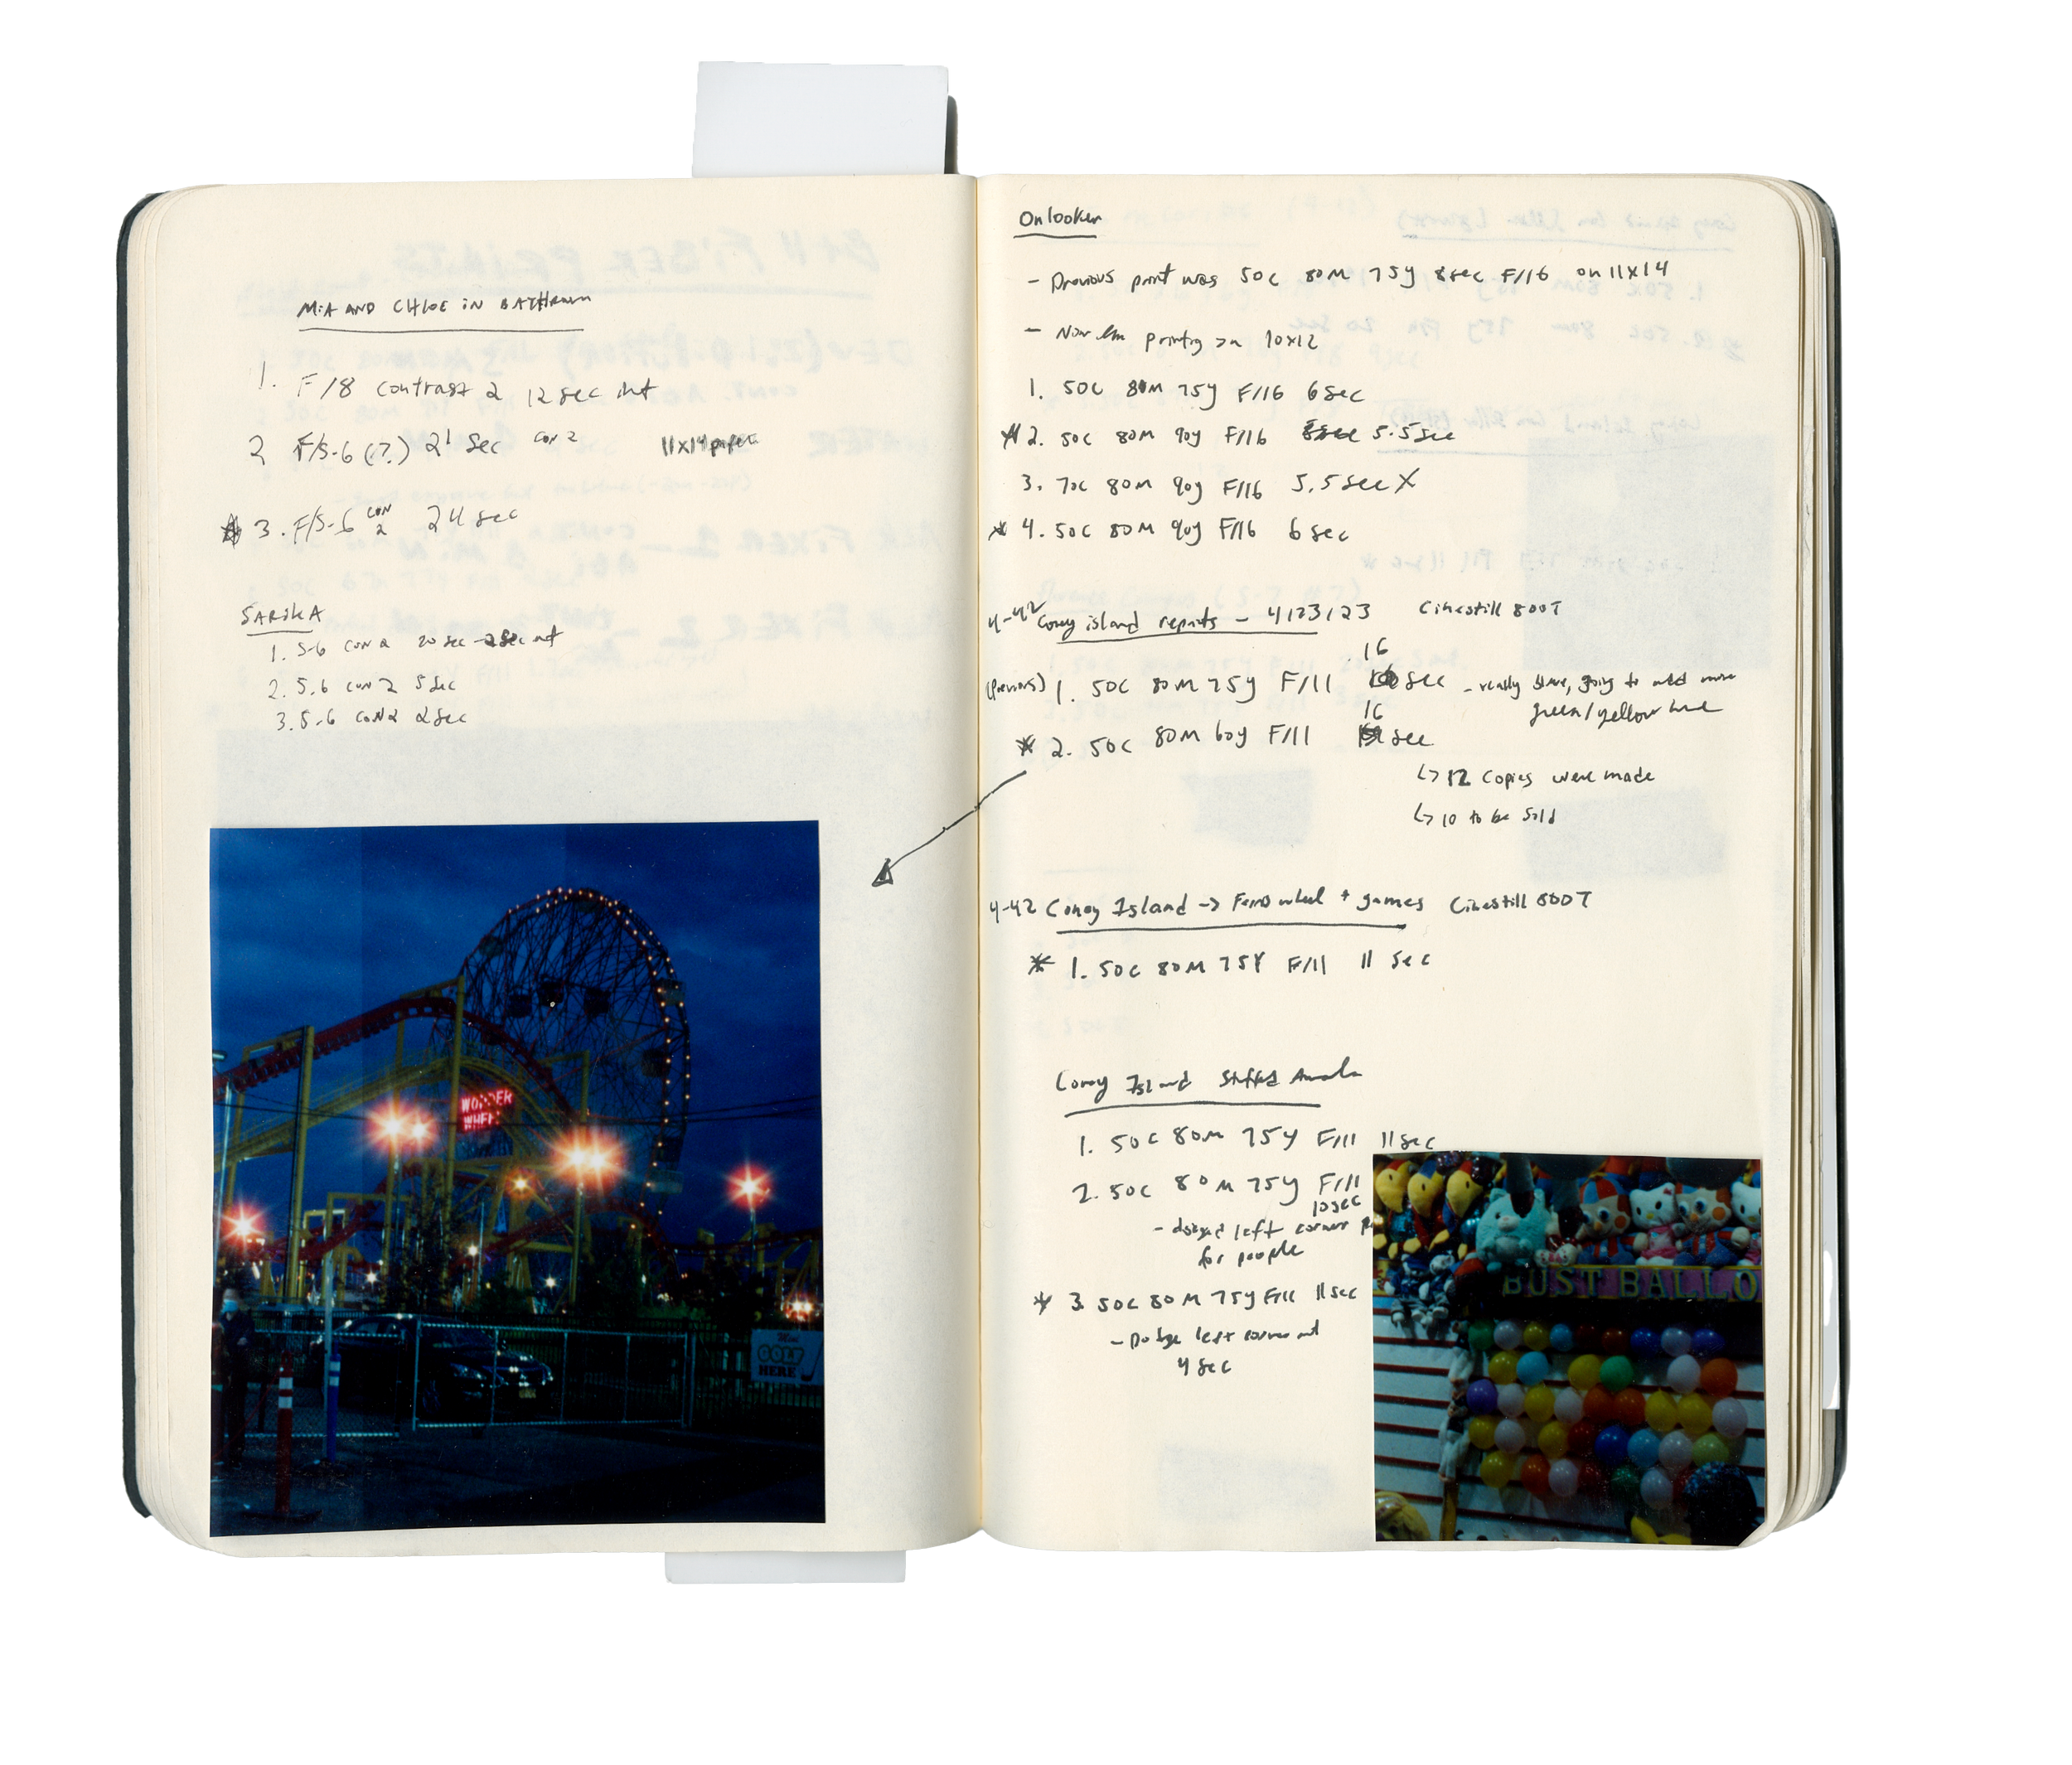
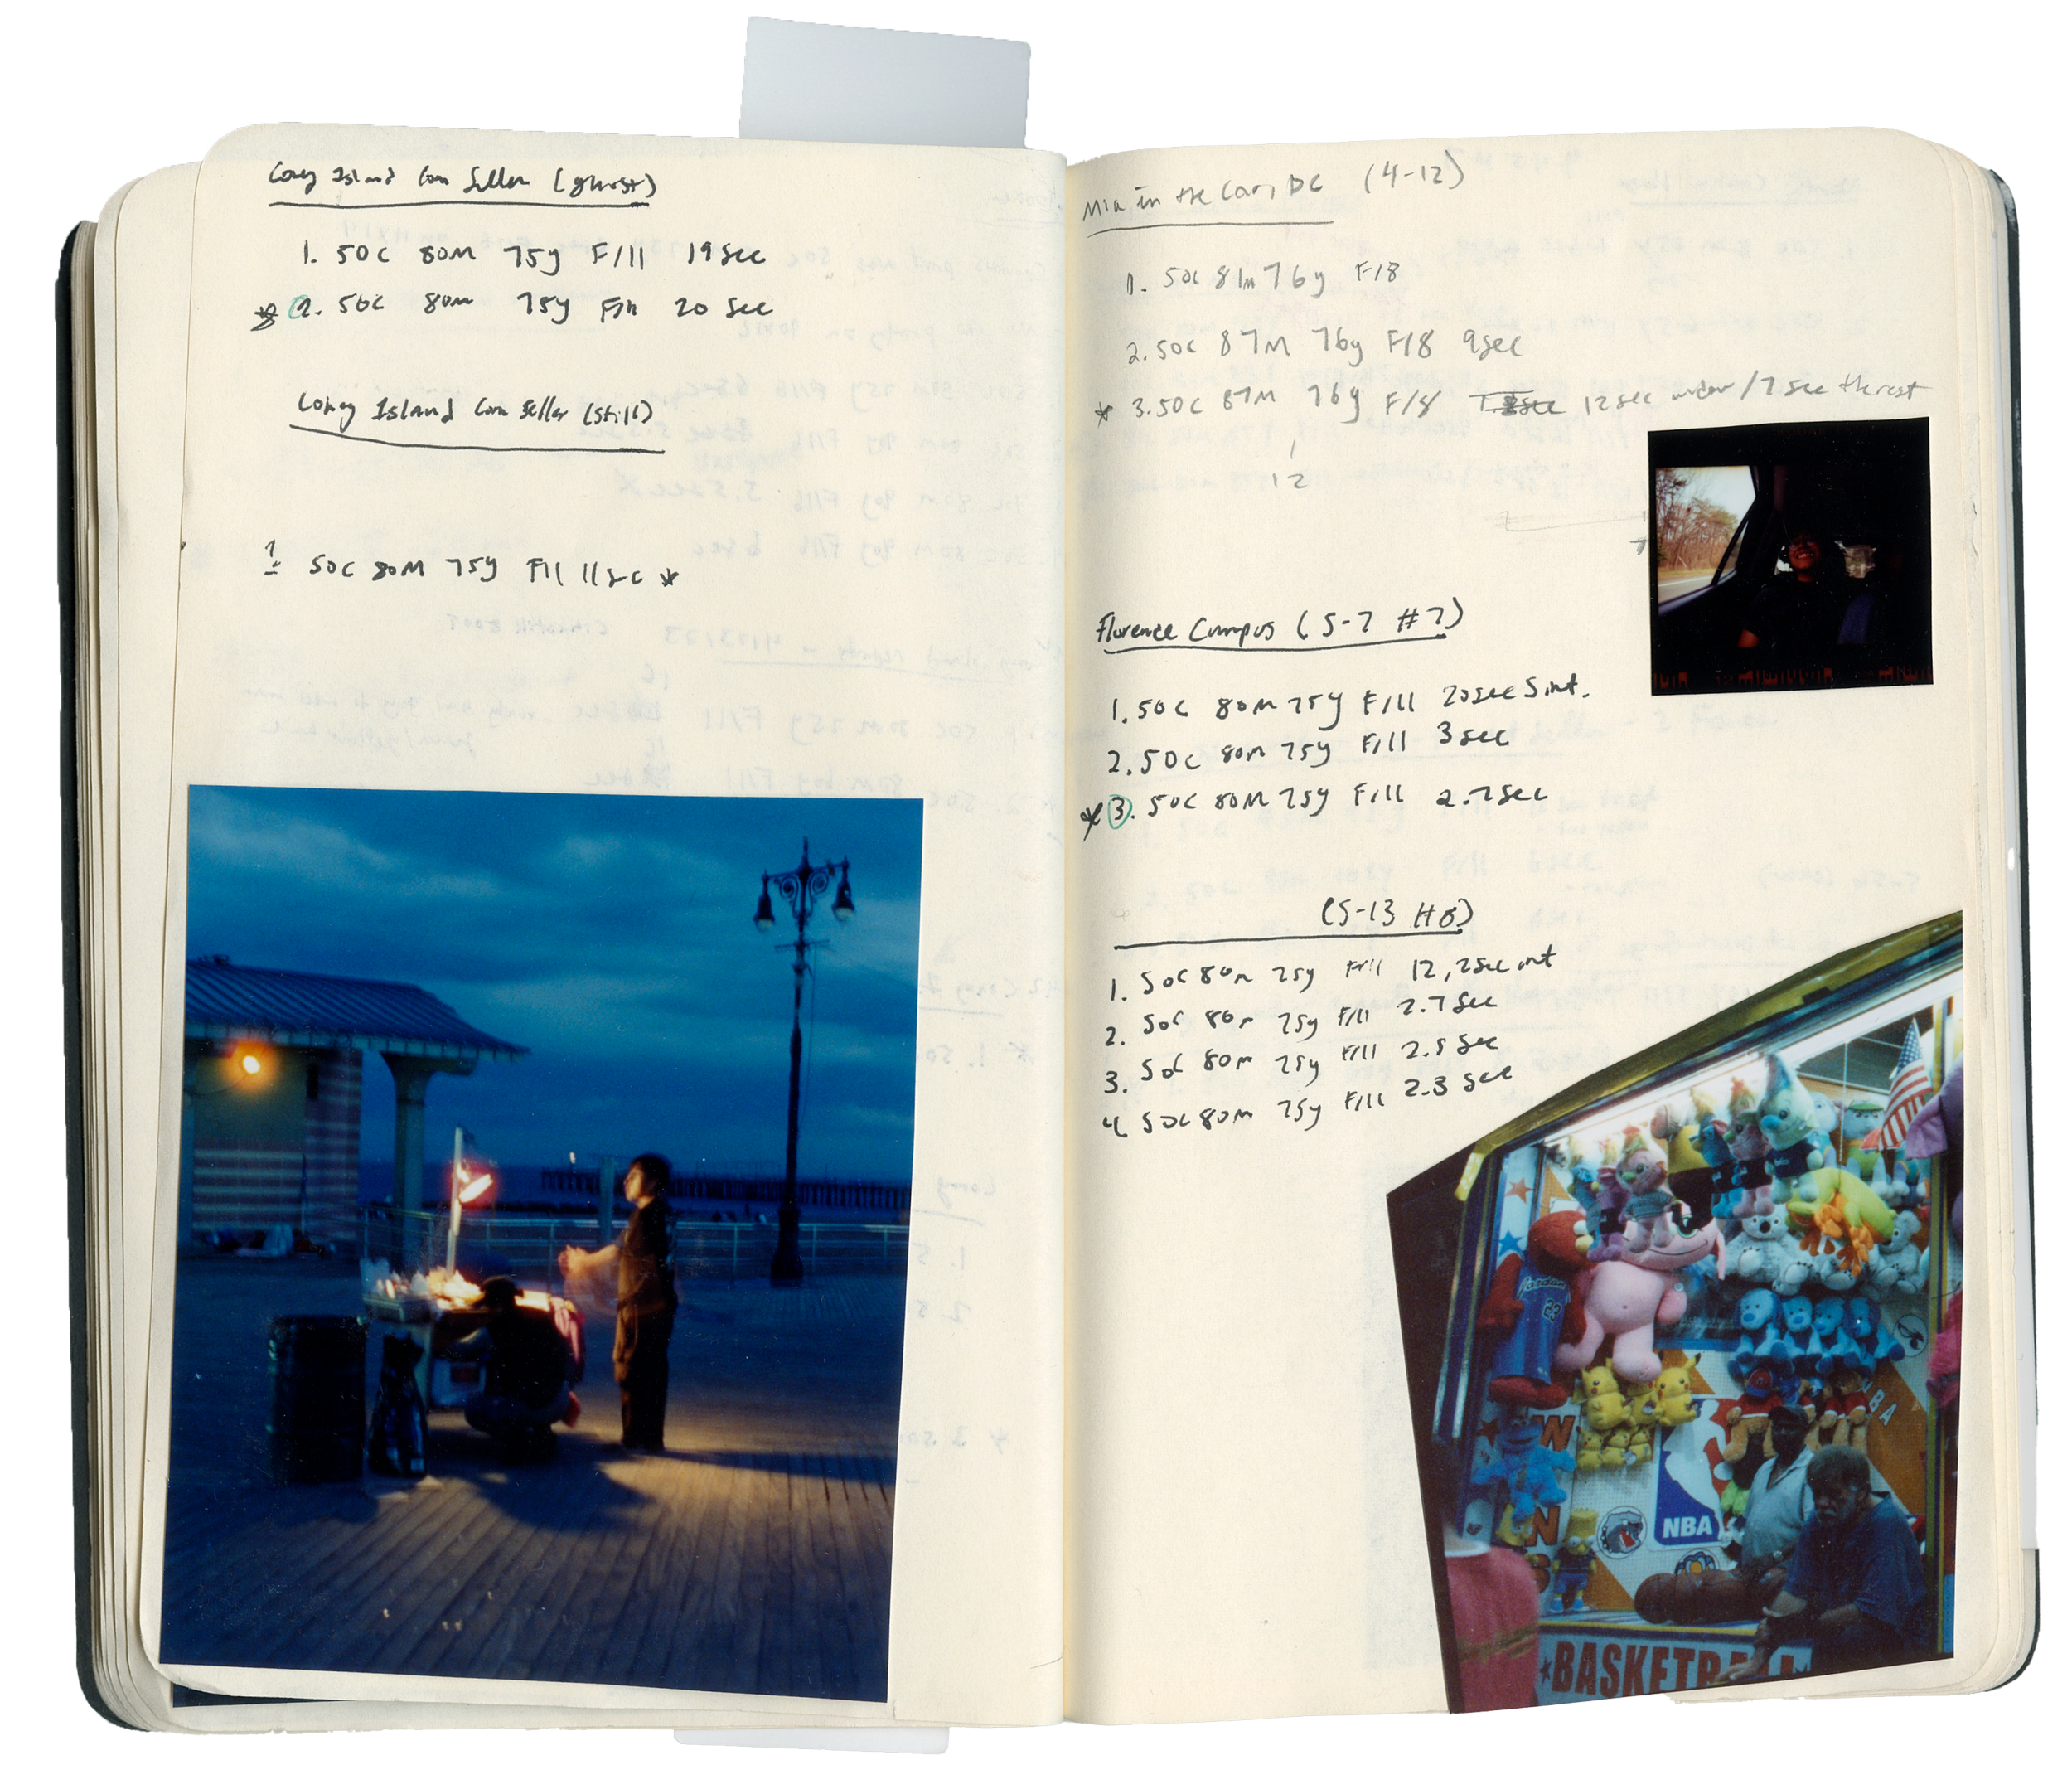
Write down notes, settings and exposure times
Document your process and notes so you can learn from your mistakes or reference things later.
Make a final print!
You now have a 1/1 print that will never be exactly like any other print.